Empower Your Business & Skills in the Digital Marketplace
Pinpoint Critical Building Information in Seconds—Reducing Risks and Preventing Costly Operational Disruptions
Our Value Proposition
Why choose BSMe2e?
Unleash All the Benefits of This New Trendy Marketplace.
Unleash all the benefits of this new trendy marketplace.
Show Talent
Showcase your unique skills and talents to a global audience
Start Selling Products & Services
Launch your business and start earning from your products and services
Rent New Era ADstore
Expand your business with New Age Global Ads and reach millions
Rent New Era
Access premium marketplace features and advanced tools
Rent New Era
Join our innovative ecosystem and grow your digital presence
Rent New Era
Connect with global opportunities and expand your network
Explore Our Groups
Discover amazing opportunities, contests, and showcases from our global community
Level 1 (Base Camp) & Level 2 (Establish your brand)
- Upgrade your account and get access to new features and opportunities.
- Get access to new features and opportunities.
- Get access to new features and opportunities.
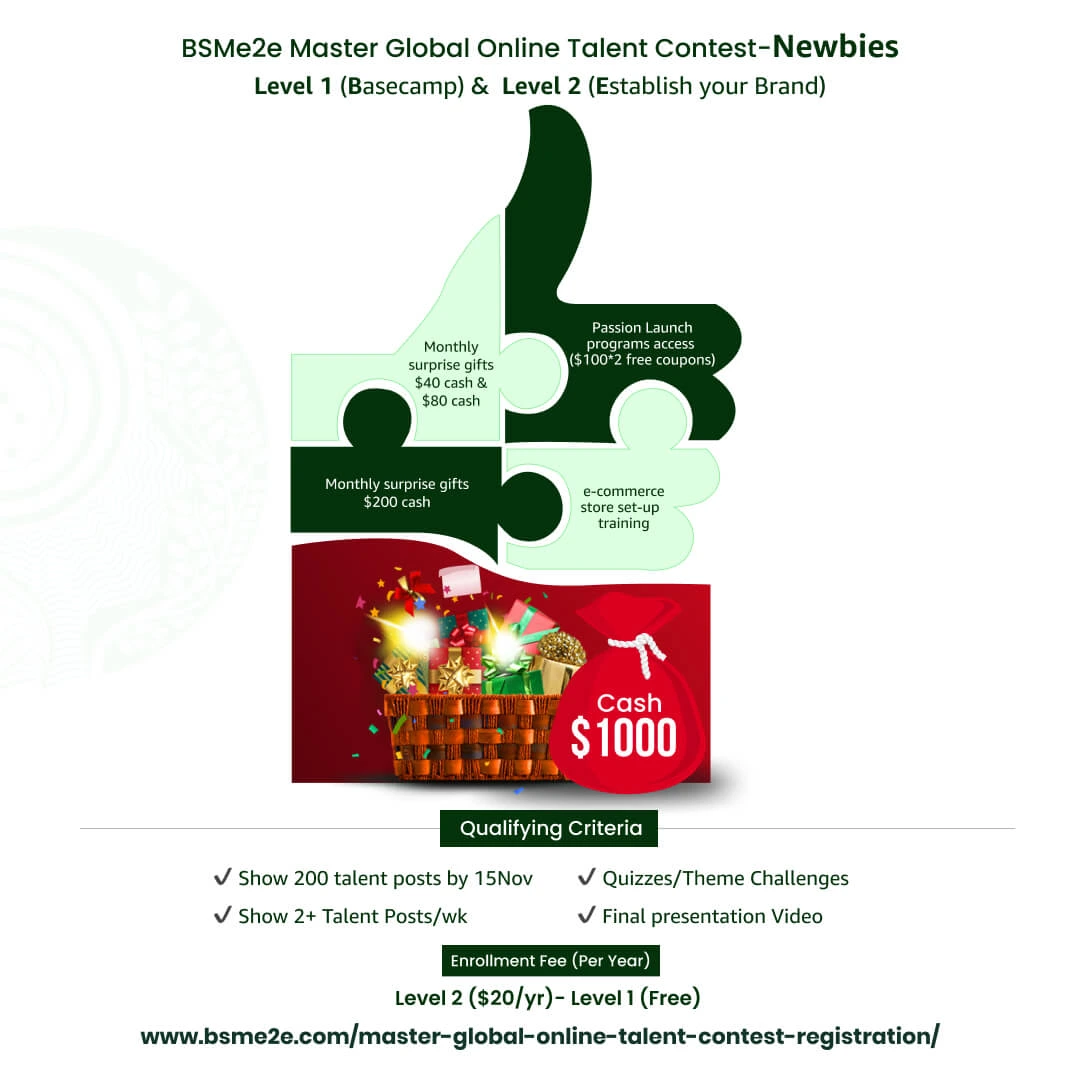
Level 1 (Base Camp) & Level 2 (Establish your brand)
- Upgrade your account and get access to new features and opportunities.
- Get access to new features and opportunities.
- Get access to new features and opportunities.
Level 1 (Base Camp) & Level 2 (Establish your brand)
- Upgrade your account and get access to new features and opportunities.
- Get access to new features and opportunities.
- Get access to new features and opportunities.
Level 1 (Base Camp) & Level 2 (Establish your brand)
- Upgrade your account and get access to new features and opportunities.
- Get access to new features and opportunities.
- Get access to new features and opportunities.
Helpful Resources section
Explore our helpful resources to help you get started with BSMe2e.

All Policies

Events and Promotions

Explainer Videos

FAQs

Feedback

General Enquiry

Post Categories List

Store Categories List
There's no better place for you to build
Here is what our users say about us.

Sarah Johnson
Digital Marketing Manager
TechCorp Solutions
"This platform has completely transformed how we showcase our talent and connect with global opportunities. The results have been phenomenal!"
Michael Chen
Freelance Designer
Creative Studio
"The earning potential here is incredible. I've been able to grow my business and reach clients I never thought possible."
Emma Rodriguez
Content Creator
Independent
"I love how this platform supports creators and provides amazing tools to showcase our work. It's been a game-changer for my career."
David Kim
Software Engineer
Innovation Labs
"The tech community here is amazing. I've learned so much and connected with brilliant minds from around the world."
Featured Sellers
DISPLAY YOUR BRAND LOGO HERE